Preparing Your Home for Jāņi Celebrations
Traditional decorations, flower selection, and setup methods that connect you to Latvia's most vibrant seasonal festival.
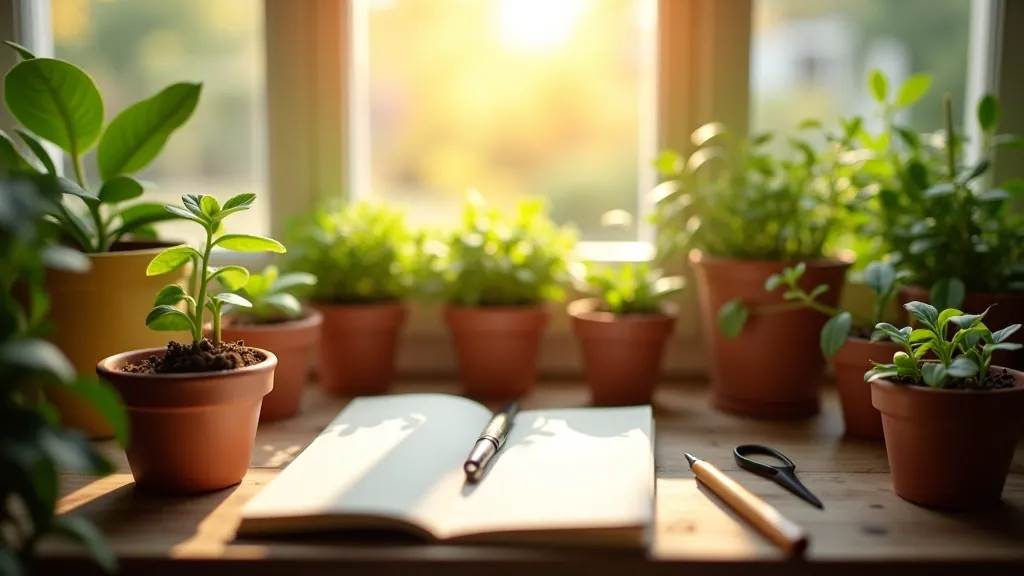
Gather fallen leaves and branches to create lasting decorations. We'll show you which materials work best and how to preserve them properly through winter.
Autumn wreaths aren't just decorations—they're a way to bring the season's fleeting beauty into your home. When you craft one yourself from materials you've gathered, you're creating something with real meaning. It's a connection to your garden, to the changing landscape, and to traditions that go back generations.
The best part? You don't need to buy anything. That fallen branch, those dried seed pods, the oak leaves turning golden—they're all waiting in your garden right now. We'll walk you through selecting the right materials, preparing them so they last through the entire season, and assembling a wreath that'll look stunning on your door or wall.

The secret to a wreath that lasts is choosing materials that dry well and hold their structure. You're looking for items that'll retain their color and won't become brittle within a few weeks. Here's what works best:
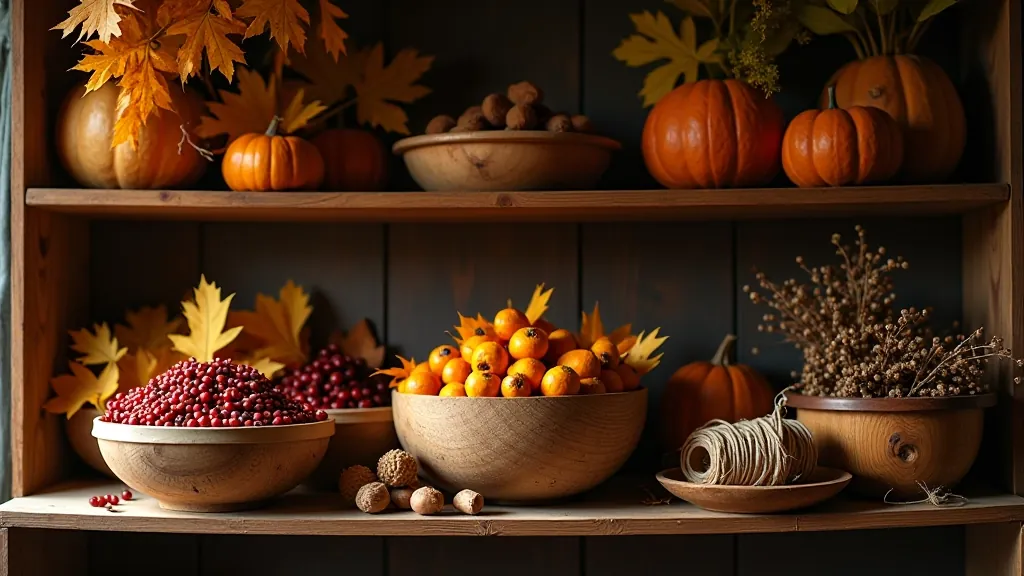
You don't need special equipment to preserve autumn materials. The key is drying them quickly in a warm, dry space with good air circulation. Most items'll be ready within 7-14 days, depending on their thickness and moisture content.
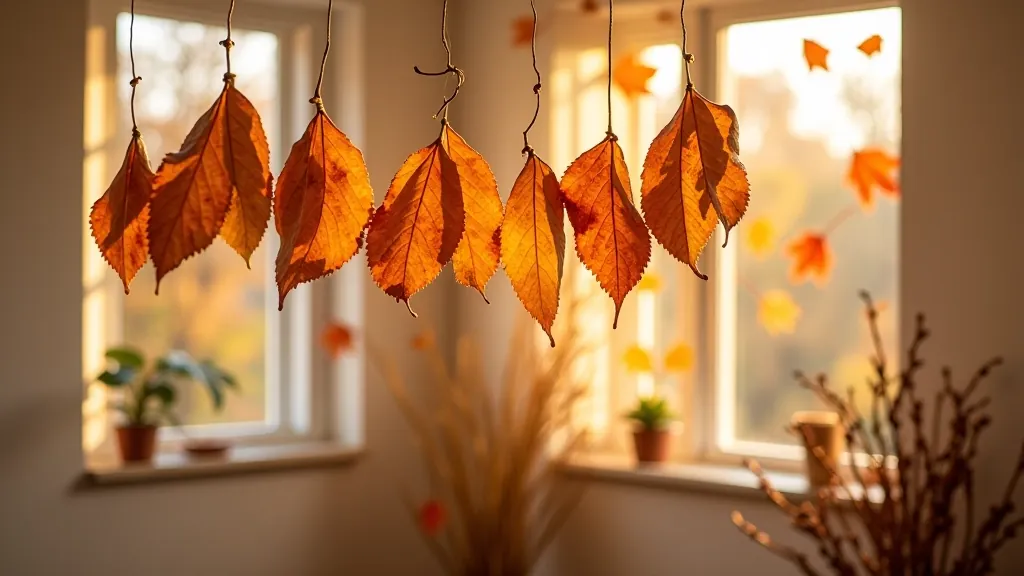
For leaves: Spread them loosely on newspaper or cardboard in a warm room away from direct sunlight. Turn them every few days so they dry evenly. Direct sun'll bleach the colors you're trying to preserve. Once they're completely dry and papery, they'll last for months.
For branches and twigs: Stand them upright in a tall vase without water, or lay them flat on newspaper. They'll dry faster than you'd expect—usually within a week. For seed pods and grasses, hang them upside down in small bundles. This keeps them from curling as they dry.
Pro tip: Don't wait for materials to be bone-dry before using them. They should feel papery and flexible, not brittle. Slightly damp materials are actually easier to work with and less likely to break when you're shaping your wreath.
There's no wrong way to make a wreath, but here's a method that works reliably. You'll need about 30-45 minutes and minimal tools—just scissors, a bit of natural twine or wire, and a hot glue gun if you want to secure delicate pieces.
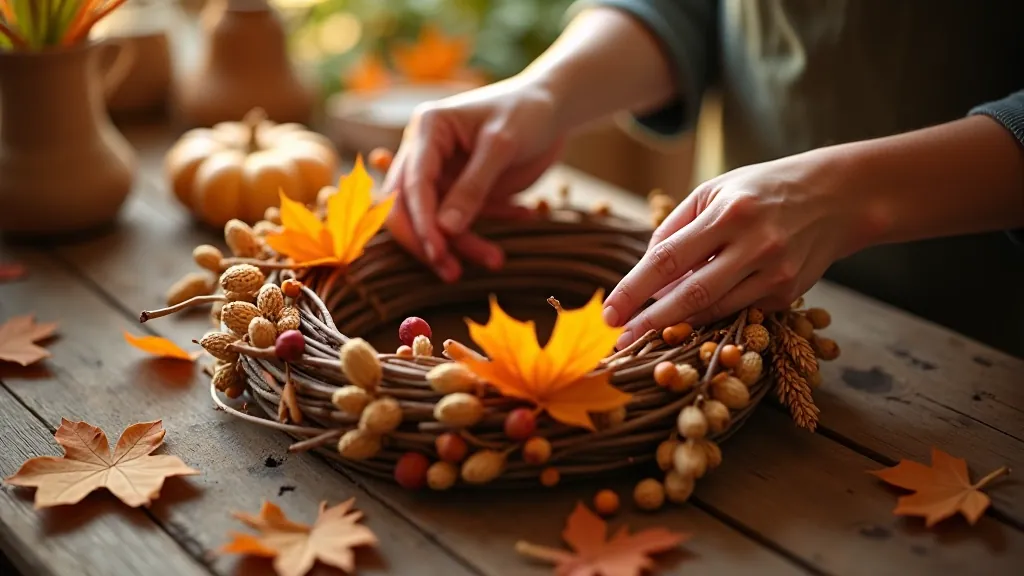
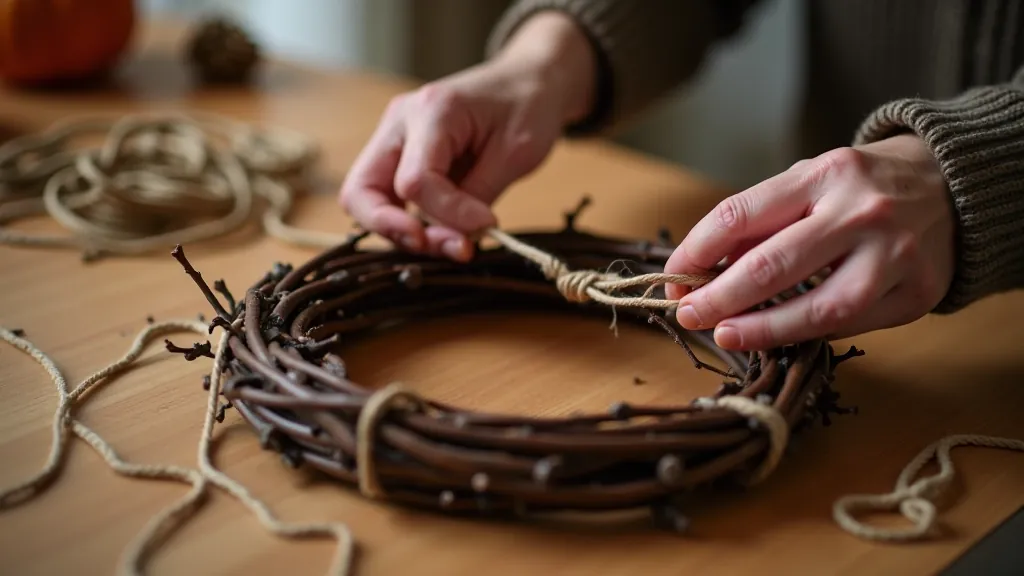
Take your flexible branches and form them into a circle roughly 14-16 inches in diameter. Birch or hazel works best because they'll bend without snapping. Wrap twine tightly around where the ends overlap, securing them firmly. Don't worry if it's not perfectly round—the irregular shape looks more natural.
Start building outward. Layer moss or dried grasses along the frame, tying them in place with twine. This creates depth and fills in gaps. Then add your branches—tuck shorter pieces through the base frame and secure them with twine. You're building dimension, not trying to cover everything.
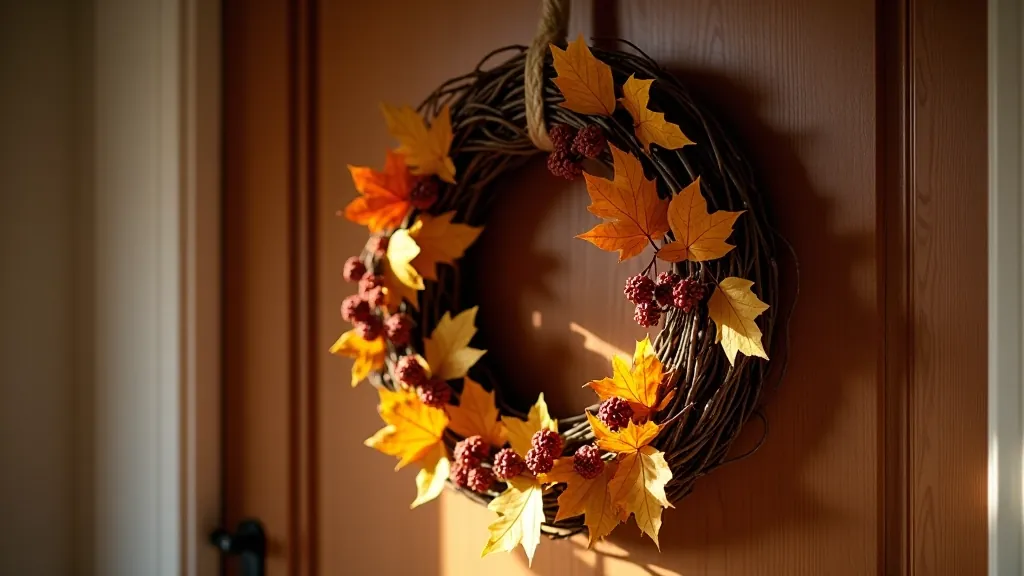
Position your best leaves in clusters around the wreath. Create 3-4 focal points rather than spreading everything evenly. This gives your wreath visual impact. Use a hot glue gun for delicate leaves, or tuck them through the existing layers. Aim for variety in color and size.
Tuck in your seed pods, berries, and any special finds you've collected. These are the details that make your wreath unique. Step back frequently to check the balance. You're done when it feels complete to you—not when every inch is covered.

Once your wreath is assembled, you can add a ribbon loop for hanging or leave it as is if you're displaying it on a table. Natural twine or a simple burlap ribbon works perfectly with the autumn aesthetic. Don't use anything too formal—the beauty of a handmade wreath is its understated elegance.
For outdoor display, your wreath'll stay looking good for 2-3 months if it's sheltered from heavy rain. Bring it inside if you get harsh weather or very wet periods. If you're displaying it indoors, it'll last even longer—sometimes through to spring if you're gentle with it. Just keep it away from heating vents, which'll dry it out too quickly.
This article is provided for educational and informational purposes to help you understand autumn wreath crafting techniques and sustainable use of garden materials. The methods described here are based on traditional practices and general guidance. Results may vary depending on your climate, the specific materials available in your area, and your individual crafting experience. We encourage you to adapt these techniques to your own situation and to experiment with materials available in your garden. Always source materials sustainably and respect local regulations regarding plant collection.
Making your own autumn wreath is more than a craft project—it's a way to slow down and really notice what's happening in your garden as the season changes. You'll find yourself paying attention to colors you might've missed, textures you didn't know existed, and the incredible abundance that autumn provides if you look carefully.
Start gathering materials this week. Spend time in your garden or on a walk, collecting fallen branches and leaves. Get them drying, and you'll have everything ready to create something beautiful that'll remind you all season long of these crisp autumn days. Your finished wreath won't be identical to anyone else's—it'll be uniquely yours, made from your garden, reflecting the exact colors and textures you found in your corner of the world.